
How to Apply Gel Wraps with UV Curing at Home

Gel Wraps at Home: Your Complete Guide to a Salon-Quality Gel Manicure
If you've ever sat in a salon chair watching the clock tick past the hour mark — and then winced at the bill — you already know why so many people are switching to at-home gel nails. Semi-cured gel wraps give you that glossy, rock-hard salon finish without the booking, the commute, or the damage that traditional gel manicures can cause.
This guide covers everything you need to know about gel wraps: what they are, how UV curing works, how to apply them properly, how to choose the right products, and how to look after your nails between applications.
What Are Gel Nail Wraps?
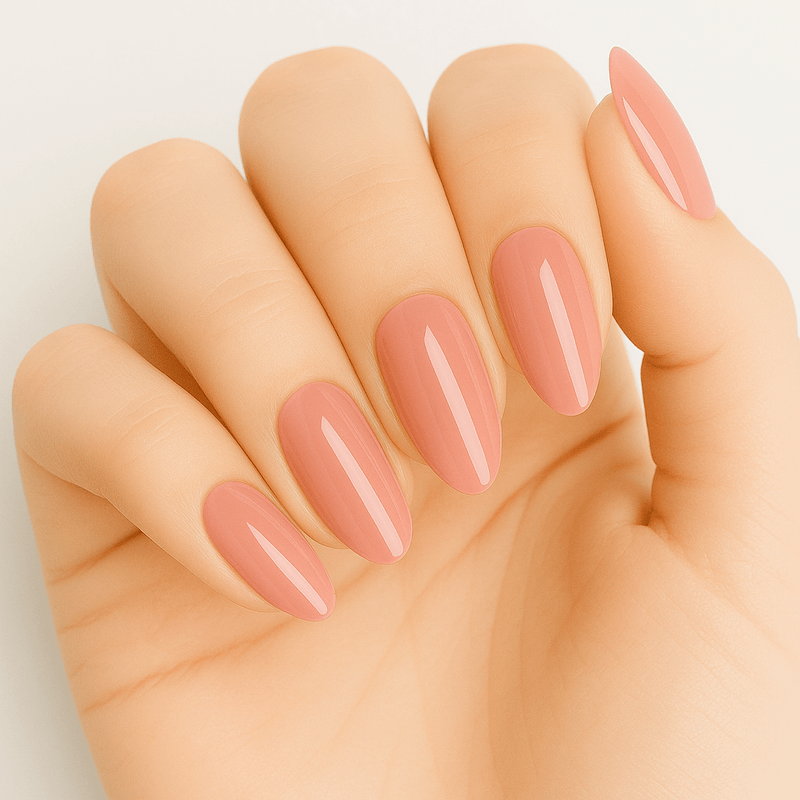
Gel nail wraps are thin strips made from real gel nail polish that has been partially cured — usually around 60%. This means they're flexible enough to mould to the shape of your nail, but once you cure them under a UV or LED lamp, they harden into a glossy, durable finish that closely mimics what you'd get at a nail salon.
Unlike traditional gel manicures, there's no wet polish touching your skin, no filing of your natural nail surface, and no complicated multi-step process involving primer, base coat, two colour coats, and top coat. You peel, apply, cure, and you're done.
The result is a high-gloss, chip-resistant manicure that lasts up to three weeks.
How Does UV Curing Work?
UV curing is the step that transforms a flexible gel strip into a hard, glossy nail. When you place your hand under a UV or LED lamp, the light triggers a chemical reaction called photopolymerisation — the gel molecules cross-link and harden into a solid, durable finish.
This is the same process used in professional salons. The difference with gel wraps is that the gel is already 60% cured before you apply it, so the lamp only needs to finish the job. With our Holy Grail LED Nail Lamp, that takes just 120 seconds.
A quick note on heat: curing does generate a small amount of warmth. Research has shown that different gel layers produce varying temperature increases during UV curing — base and colour layers tend to produce a mild rise of around 1.5°C, while thicker builder layers can rise closer to 4°C. With semi-cured gel wraps, the layers are thinner and the curing time is shorter than traditional gel, so most people feel little to no heat at all. If you do feel warmth, briefly removing your hand from the lamp and then continuing will resolve it.
How to Apply Gel Wraps: Step by Step
Proper application is the single biggest factor in how long your gel wraps last. Rushing the prep is the main reason people get disappointing results. Here's how to do it right.
Step 1: Prep Your Nails
This is the step most people skip — and it's the most important one. Push your cuticles back gently with a cuticle stick. Wash your hands with soap and dry them thoroughly. If your nails are smooth or oily, lightly buff the surface with a buffer block to give the adhesive something to grip.
The goal is a clean, dry, oil-free nail surface. Any residue from hand cream, cuticle oil, or natural oils will weaken the bond and cause lifting.
Step 2: Choose the Right Size
Select a gel wrap that fits your nail width. If you're between two sizes, go slightly smaller rather than larger — a wrap that touches your cuticle or skin at the edges will start to lift within a day. You want a tiny gap between the wrap and your cuticle line.
Each of our Gel Wrap packs includes 20 wraps in various sizes, so there's plenty to work with.
Step 3: Apply the Wrap
Peel the wrap from the sheet — avoid touching the adhesive side with your fingers. Align the curved edge just above your cuticle and press down firmly, smoothing from the centre outward to push out any air bubbles. Use a cuticle stick or your finger to press the edges down securely.
Start at the cuticle end and work toward the tip. Take your time here — a smooth application means a better-looking, longer-lasting result.
Step 4: File Off the Excess
Fold the excess wrap over the tip of your nail and file downward at a 90-degree angle. Always file in one direction — downward only, never side to side or upward. This seals the wrap against your nail edge and prevents lifting at the tips.
If your nails are too short to file, use nail clippers instead.
Step 5: Cure Under the Lamp
Place your hand under your UV/LED lamp and cure for 120 seconds. Our Gel Wraps are 60% pre-cured, so the lamp just needs to finish the job.
Step 6: Seal and Set
For extra durability, apply a thin layer of Ultimate Shine Top Coat over the cured wrap, making sure to cap the free edge of each nail. Cure again under the lamp. Wipe off any excess from the skin before curing.
The best time to apply gel wraps is before bed. This gives the adhesive several hours to fully bond without interference from water or hand-washing. Avoid submerging your hands in water for at least four hours after application.
Choosing the Right UV Lamp
Not all UV lamps are equal, and using the wrong one can mean under-cured wraps that don't last. Our Holy Grail LED Nail Lamp is specifically designed to work with our gel products. It uses six LED lights that cure faster and last longer than traditional UV bulbs, and it has a built-in 120-second timer so you don't have to guess.
It's compact enough to take to a friend's house for a pamper session, and it also works with all brands of UV gel polish — so it's a versatile addition to your nail kit even if you use other products.
If you're choosing a lamp from elsewhere, look for one with at least 36 watts and make sure it's compatible with the gel wraps you're using. Some gels require specific wavelengths to cure properly, so matching your lamp to your wraps is important.
How to Make Your Gel Wraps Last Longer
A few simple habits make a real difference to wear time.
Wear gloves for washing up. Water — especially prolonged hot water — is the biggest enemy of nail wrap adhesive. Showers and regular hand-washing are fine, but use rubber gloves for dishes and cleaning.
Don't use your nails as tools. Opening cans, peeling stickers, and scratching surfaces all put stress on the wrap edges. As we like to say — your nails are jewels, not tools.
Apply cuticle oil daily. This keeps your nails and cuticles hydrated, which supports better adhesion and healthier nail growth.
Store unused wraps properly. Keep leftover wraps in their original packaging, sealed away from sunlight. UV exposure can pre-cure gel wraps in the packet, making them stiff and less flexible. Stored correctly, they'll stay pliable for future use.
Warm stiff wraps before applying. If your wraps feel rigid or less sticky than expected, warm them briefly with a hairdryer or place them near a radiator. This softens the adhesive and makes them easier to work with.
How to Remove Gel Wraps Safely
Safe removal matters. Peeling or forcing wraps off pulls at the top layer of your natural nail, causing thinning and damage over time. Never do this, no matter how tempting it is when you're eager to put a new set on.
The easiest approach is to soak nails in remover or apply cuticle oil around the edges and gently work a wooden cuticle stick underneath. The wrap should lift away cleanly. If there's resistance, add more oil or remover and wait — don't force it.
If you've been using a top coat, lightly buff the surface first to break the seal before applying remover.
After removal, apply cuticle oil or a nourishing hand cream to rehydrate your nails. We'd always recommend giving your nails a short rest between applications — even a day or two helps.
If you've peeled wraps off and caused some damage, use a nourishing cuticle treatment twice daily, try biotin supplements, and let the damage grow out before applying wraps again.
Getting Started: The Gel Wrap Starter Kit
If you're new to gel wraps, our Gel Wrap Starter Kit is the simplest way to get everything you need in one go. It includes three Gel Wrap sets of your choice plus our UV LED Nail Lamp and a FREE Mani Makeup Bag — all at a discount compared to buying items individually.
Each Gel Wrap pack comes with 20 individual wraps in various sizes, a wooden cuticle stick, and a mini emery board. So you genuinely have everything you need to get started straight away.
We also offer a Classic Wrap Starter Kit (no lamp required) and a Press-On Starter Kit if gel isn't quite your thing.
Why Ingredients Matter: HEMA-Free Gel Wraps
If you've ever had an allergic reaction to gel nails, there's a good chance HEMA was the culprit. HEMA (2-hydroxyethyl methacrylate) is a common ingredient in gel nail products and one of the leading causes of contact dermatitis in the nail industry. It's not always clearly labelled, which makes it difficult to avoid.
All Holy Grail Nail products are HEMA-free. Our gel wraps are also vegan and never tested on animals. Because the gel is pre-cured, no wet gel actually touches your skin or nail during application — only the adhesive backing makes contact. Many customers with gel allergies are able to use our gel wraps without issues, though we'd always recommend doing a patch test first if you have a known sensitivity.
Troubleshooting Common Issues
Even with careful application, the occasional issue can crop up. Here's how to handle the most common ones.
Wraps lifting at the edges: This usually means the wrap was touching your cuticle or skin, or there was oil on the nail surface. Make sure you choose a size slightly smaller than your nail, prep thoroughly, and press the edges down firmly before curing.
Air bubbles under the wrap: Smooth these out before curing by pressing from the centre outward. Applying thinner, more even pressure during application helps prevent them in the first place.
Tip wear: If the tips start to show wear before the rest of the wrap, you can gently file off the worn tip and reapply a layer of top coat to extend the life of your manicure. Capping the tips with top coat during application helps prevent this.
Wraps feeling stiff or not sticking well: Warm them with a hairdryer or near a radiator before applying. This softens the gel and reactivates the adhesive.
Frequently Asked Questions
How long do gel wraps last? Semi-cured gel wraps typically last two to three weeks. Proper nail prep, curing for the full recommended time, and sealing with a top coat all help you get the best wear.
Do I definitely need a UV lamp? Yes — gel wraps must be cured under a UV or LED lamp. Without curing, the gel won't harden and your manicure won't last. Our Gel Wrap Starter Kit includes the lamp.
Can I use gel wraps on short nails? Absolutely. Each pack includes multiple sizes, and wraps can be trimmed to fit. Short nails actually tend to get slightly longer wear because there's less tip exposure.
Are gel wraps bad for your nails? No. Unlike salon gel manicures, gel wraps don't require filing the nail surface for adhesion or heavy acetone soaking for removal. Many of our customers find their natural nails are healthier and stronger since switching from salon gels.
Can I apply gel wraps over acrylic or shellac nails? Classic Wraps work well over artificial nails, but for gel wraps specifically, a clean natural nail surface gives the best adhesion and results.
Is UV curing safe? UV curing with modern LED lamps involves very brief, low-level UV exposure. If you'd like extra precaution, apply a broad-spectrum SPF to your hands before curing or wear fingerless UV-protective gloves. Keep the area well ventilated as a general good practice.
How often should I replace my wraps? We'd suggest changing gel wraps every two to three weeks, even if they still look good. Giving your nails a brief rest between applications helps keep them healthy.
What's the difference between Gel Wraps and Classic Wraps? Classic Wraps are made from real nail polish, don't require a lamp, and last 7 to 14 days. Gel Wraps are made from real gel polish, require UV curing, and last two to three weeks with a thicker, glossier finish.
Explore the Full Range
Browse our full Gel Wraps collection, or start with a Gel Wrap Starter Kit to get everything you need in one box. With over 1,000 designs across our Classic, Gel, and Press-On collections, there's something for every style and every occasion.
All Holy Grail Nail products are HEMA-free, vegan, and cruelty-free.